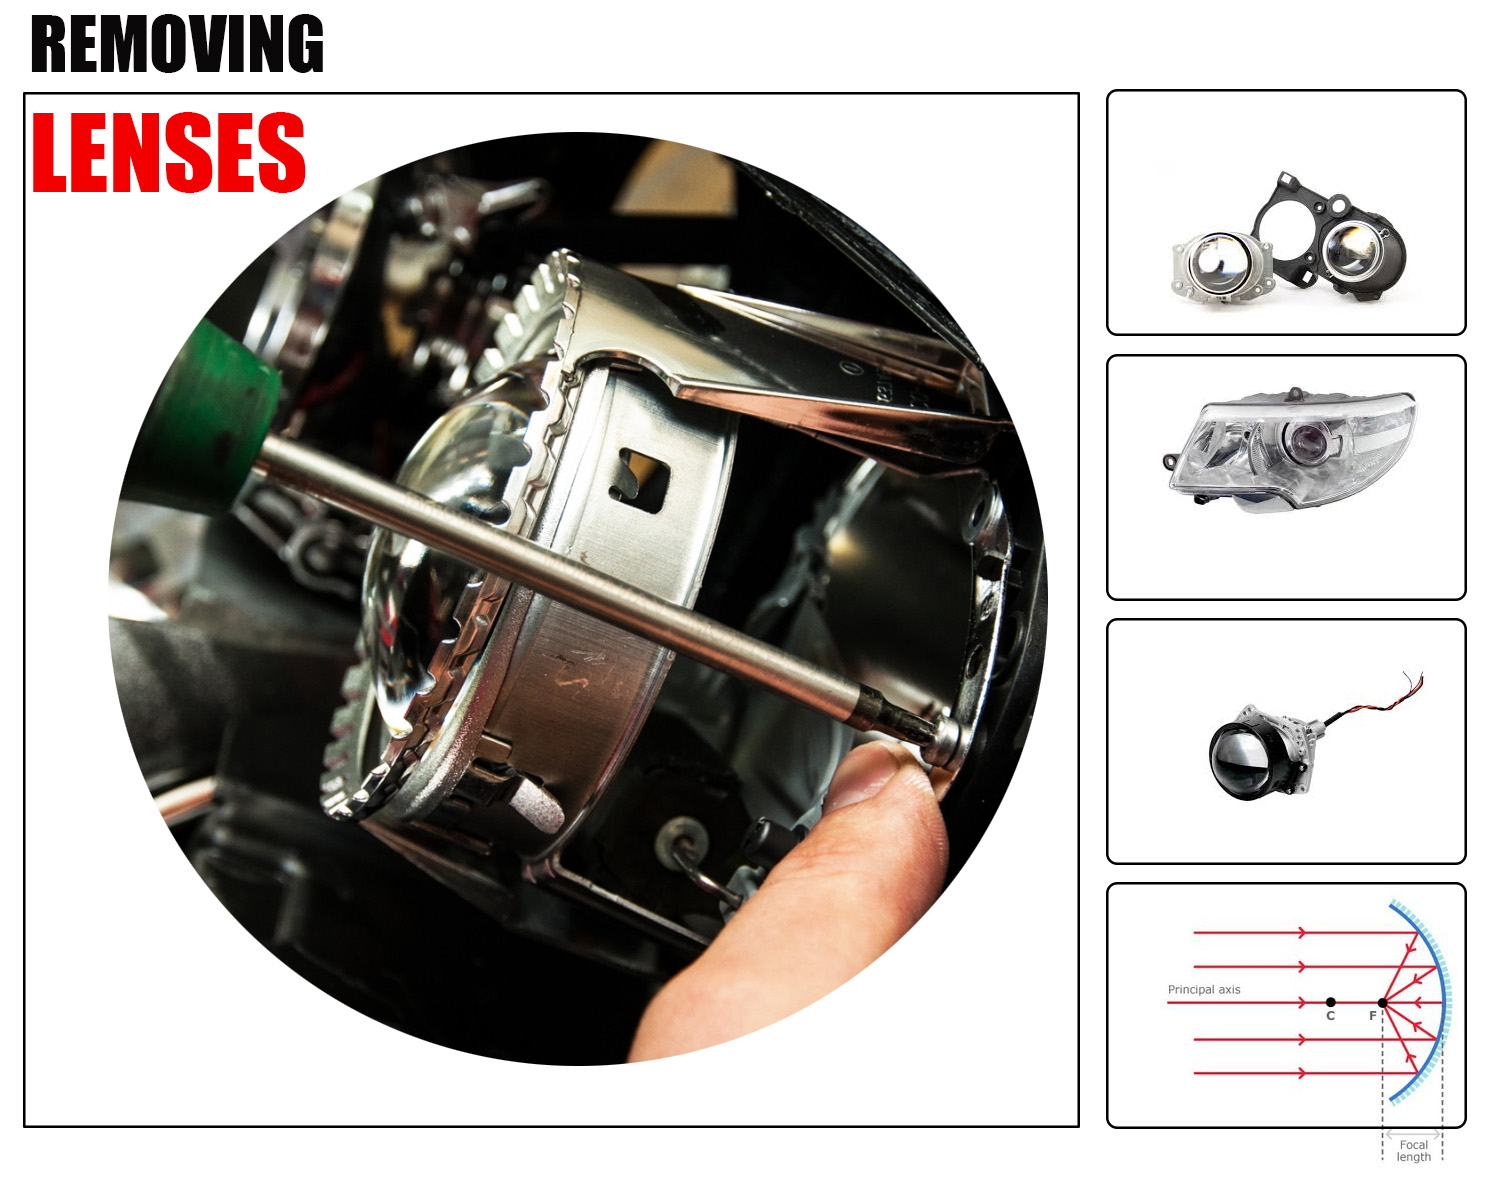
To begin the process of removing lenses, identify the type of fastening mechanism. Typically, lenses are secured from the outside by small screws. Use an appropriately sized screwdriver to remove these screws. In other instances, lenses may be fastened from the rear, necessitating the removal of interior trim panels to access them.
Once you have clear visibility of the rear of the light unit, carefully examine how the lens is affixed. You may need to remove the bulb holder first (refer to the previous section for detailed instructions) to access the lens fixings.
After locating the fastenings, release them and gently lift the lens away. Inspect the condition of the lens; if it is cracked or damaged, a replacement will be necessary. Some lenses consist of individual sections that interlock. In such cases, you may be able to replace just the damaged section rather than the entire lens.

Ensure to clean away any accumulated dirt, grime, and condensation from the inside of the lens before reassembly. This maintenance step is crucial for optimal light performance and longevity.