
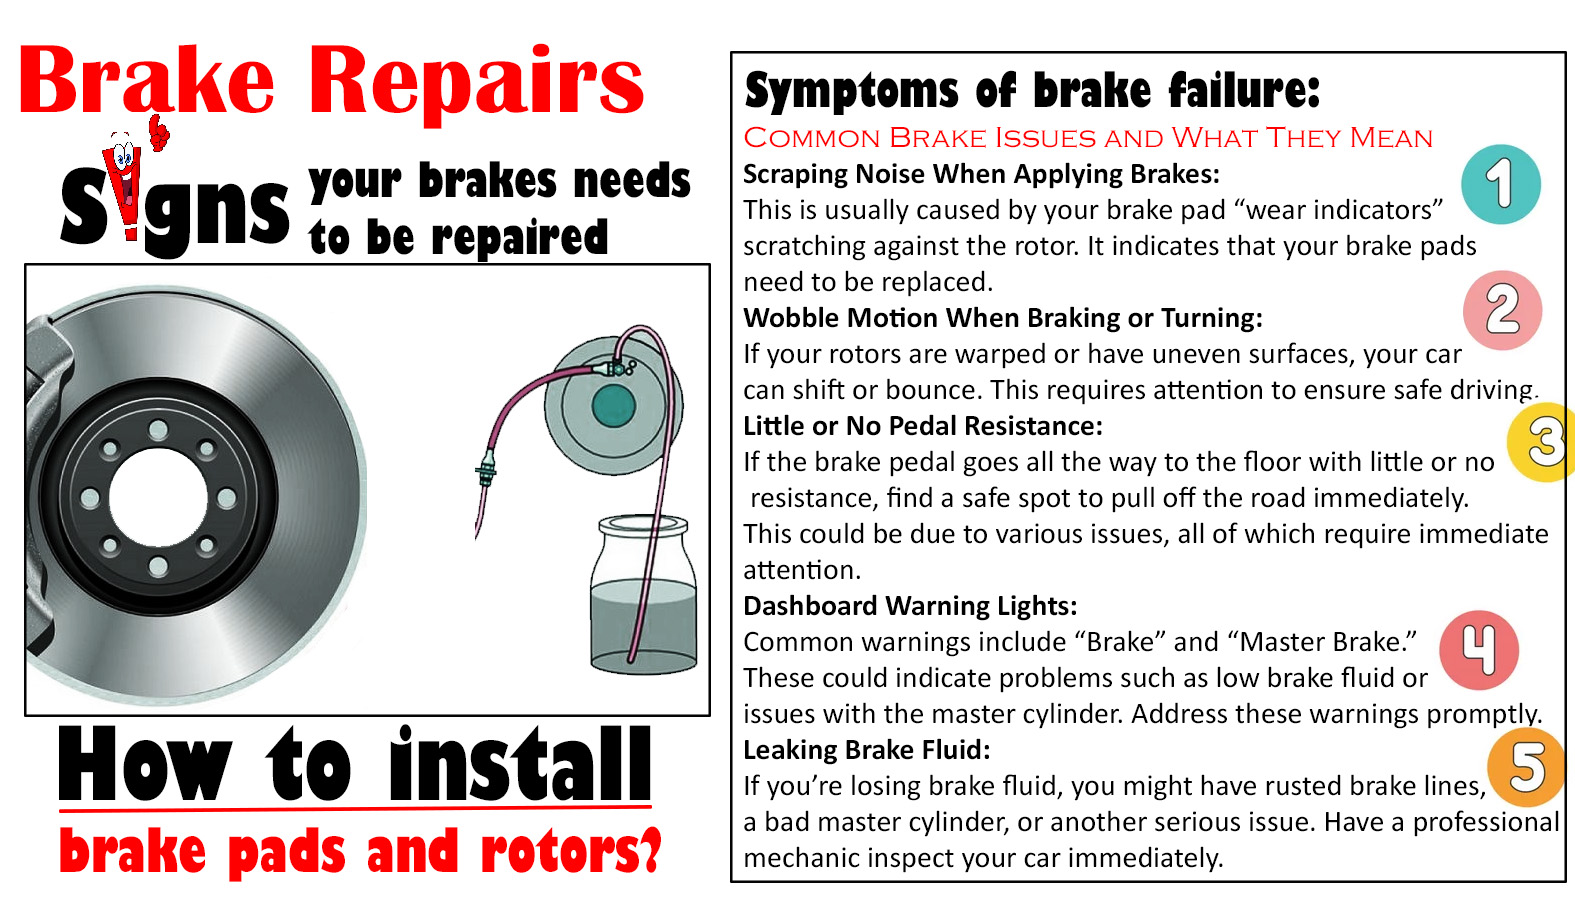
Common Brake Issues and What They Mean
Scraping Noise When Applying Brakes:
This is usually caused by your brake pad “wear indicators” scratching against the rotor. It indicates that your brake pads need to be replaced.
Wobble Motion When Braking or Turning:
If your rotors are warped or have uneven surfaces, your car can shift or bounce. This requires attention to ensure safe driving.
Little or No Pedal Resistance:
If the brake pedal goes all the way to the floor with little or no resistance, find a safe spot to pull off the road immediately. This could be due to various issues, all of which require immediate attention.
Dashboard Warning Lights:
Common warnings include “Brake” and “Master Brake.” These could indicate problems such as low brake fluid or issues with the master cylinder. Address these warnings promptly.
Leaking Brake Fluid:
If you’re losing brake fluid, you might have rusted brake lines, a bad master cylinder, or another serious issue. Have a professional mechanic inspect your car immediately.
How to Install Brake Pads and Rotors

- Raise the Vehicle: Securely lift your vehicle using a jack or ramps.
- Remove the Wheel: Detach the wheel to access the brake components.
- Remove the Caliper Bolts: Unscrew the bolts securing the caliper.
- Lift the Caliper: Carefully lift the caliper off the rotor and brake pads.
- Retract the Caliper Piston: Use a C-clamp to push the caliper piston back to its original position.
- Remove the Brake Pads: Take out the old brake pads.
- Remove the Rotor: Detach the rotor from the hub assembly.
- Install the New Rotor: Place the new rotor onto the hub.
- Reposition the Caliper: Reinstall the caliper over the new rotor.
- Install New Brake Pads: Insert the new brake pads into the caliper bracket.
- Secure the Caliper: Fasten the caliper with the mounting bolts.
- Bleed the Brakes: Purge any air from the brake lines.
- Mount the Wheel: Reattach the wheel to the hub.
- Lower the Vehicle: Carefully lower the vehicle back to the ground.
- Test Drive: Take a test drive to ensure the brakes are functioning properly.
How to Bleed Your Brakes

- Locate the Brake Bleeder Nozzle: Identify the brake bleeder screw, typically located on the brake caliper.
- Free Up the Nozzle: If the nozzle is stuck, apply WD-40 to loosen it, taking care not to break it.
- Attach the Hose: Connect one end of a flexible hose to the bleeder nozzle and submerge the other end in a jar with brake fluid.
- Press the Brake Pedal: Have an assistant press the brake pedal all the way down.
- Open the Nozzle: Slightly open the bleeder nozzle to allow air and fluid to escape.
- Close the Nozzle: Tighten the bleeder screw before your assistant releases the brake pedal.
- Repeat: Continue steps 4-6 until no air bubbles are visible in the fluid.
- Add Brake Fluid: Refill the brake fluid reservoir as necessary.
- Repeat for Each Wheel: Perform the bleeding process for each wheel.
- Test Drive: Conduct a test drive to ensure the braking system is functioning correctly.
- By following these steps, you can properly install new brake pads and rotors and bleed your brakes, ensuring optimal brake performance and safety