
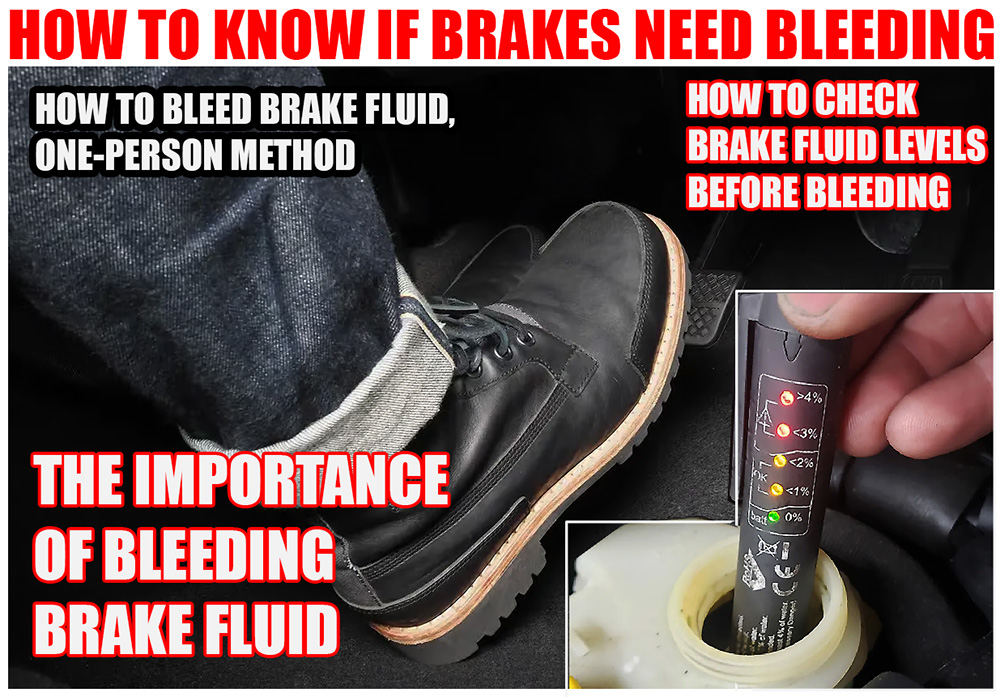
HOW TO KNOW IF BRAKES NEED BLEEDING
Your car may need brake bleeding in the following situations:
- When you press the brake pedal, does it feel spongy?
This is a sign of potential issues with the master cylinder or caliper pistons, so they should be checked.
- The second sign that you need to bleed the brake fluid is if the pedal sinks after you stop. This can happen because brake fluid absorbs water.
Sometimes the sealed brake system doesn’t fully prevent water seepage, as water has a lower boiling point than brake fluid. Friction accompanies the braking process. It causes the temperature to rise. Water begins to boil and evaporate, creating air pockets that lead to weakened braking or a spongy pedal feel.
THE IMPORTANCE OF BLEEDING BRAKE FLUID
Bleeding the brakes eliminates air pockets that may enter the brake fluid during the servicing of calipers and brake lines. It is also an effective method for removing old fluid from the system and replacing it with new fluid.
It is a critical aspect of brake maintenance. Every vehicle’s brakes require the fluid to be bled and replaced periodically. The schedule for this maintenance varies, so consult your owner’s manual for the specific timelines.
HOW OFTEN SHOULD YOU BLEED YOUR BRAKE?
Some manufacturers recommend replacing the brake fluid every 20,000 miles, while others suggest bleeding at 150,000 miles. Generally, it is advisable to bleed and replace your brake fluid every five years or whenever you service your brake system. Keeping the fluid fresh helps ensure reliable braking performance. It is more cost-effective and simpler than replacing brake lines or the master cylinder, both of which can corrode due to old fluid.
HOW TO CHECK BRAKE FLUID LEVELS BEFORE BLEEDING
Before bleeding the brakes, ensure that the reservoir is filled with new, clean brake fluid. Most reservoirs are made of translucent white plastic or feature upper and lower markings for fluid levels. Check that the fluid is between the maximum and minimum markings. If it’s not, add the appropriate grade of brake fluid from a new, sealed container.
How to Bleed Brake Fluid, One-Person METHOD
Safety First
Begin by parking your vehicle on a flat, dry surface and securing it with wheel chocks. Open the hood and ensure it is securely supported. Raise the car using a hydraulic jack, place it on jack stands, and remove the wheels for easier access to the brake components.
Remove the Old Brake Fluid
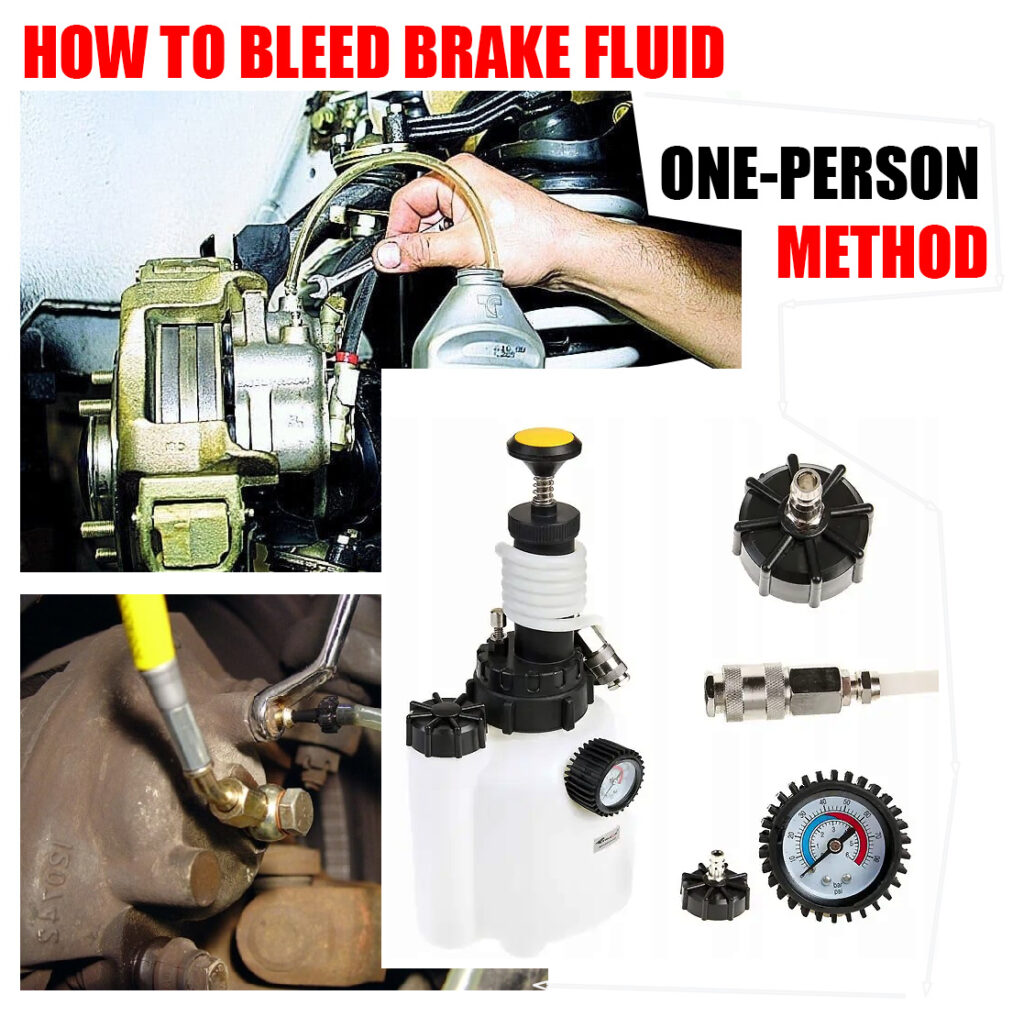
Carefully remove the cap from the master cylinder. Using a vacuum pump or a turkey baster, extract the majority of the old brake fluid from the reservoir. Be cautious not to empty the master cylinder completely, as it is crucial to maintain some fluid to avoid introducing air into the system.
Add New Brake Fluid
Pour new brake fluid into the master cylinder. Keep the cap either off or loosely secured to allow for ventilation. Always ensure that the cap of the new brake fluid bottle is replaced to prevent contamination. Verify that the fluid matches the manufacturer’s specifications, such as DOT 3, and consult the master cylinder cap or the owner’s manual for confirmation. If in doubt, a quick check at a local auto parts store like AutoZone can help.
Determine Which Wheel to Bleed First
Consult your vehicle’s service manual to identify the recommended bleeding sequence, starting with the wheel furthest from the master cylinder, which is typically the rear passenger side wheel.
Locate the Brake Bleeder Valve
Identify the brake bleeder valve, a small screw with a hole in the center. For disc brakes, the bleeder valve is generally located on the top of the brake caliper. For drum brakes, it is usually found at the top center on the backside of the drum assembly.
Connect the Vacuum Pump
Attach the vacuum pump to the bleeder valve to create a tight seal, ensuring effective fluid extraction.
Open the Bleeder Valve
Using a brake bleeder wrench, carefully open the bleeder valve. Activate the vacuum pump to draw out the old brake fluid. If using a powered pump, connect it to a compressed air source and squeeze the trigger to initiate fluid extraction. For a manual pump, repeatedly squeeze the handle to facilitate fluid removal.
Dispose of the extracted brake fluid in a suitable plastic reservoir. As the old fluid is expelled, consistently monitor the master cylinder to prevent it from running dry. Add new brake fluid as needed. When you stop observing bubbles and the fluid color becomes clearer, you have successfully removed most of the air and old fluid from the system.
What to Do If Brake Bleeding Doesn’t RESOLVE THE ISSUE
In certain situations, bleeding the brakes may not completely resolve your symptoms, or air may re-enter the brake lines. If you find yourself in this predicament, consider the following options:
- Bleed the Brakes Again: It’s possible that not all aerated fluid was expelled during the initial bleeding process. Repeat the procedure to ensure thorough removal of any trapped air.
- Inspect for Leaks: Air may be infiltrating the braking system due to a damaged brake line, a leaking brake caliper, or insufficient fluid levels in the brake fluid reservoir. Identify and repair any leaks before re-bleeding the brakes to maintain system integrity.
- Consult a Professional Mechanic: If you are unable to diagnose the problem on your own, it may be best to take your vehicle to a qualified mechanic. They can conduct a thorough inspection of the braking system to pinpoint the issue.
If you’re interested in car brake anatomy and how it works, consider exploring these guides: